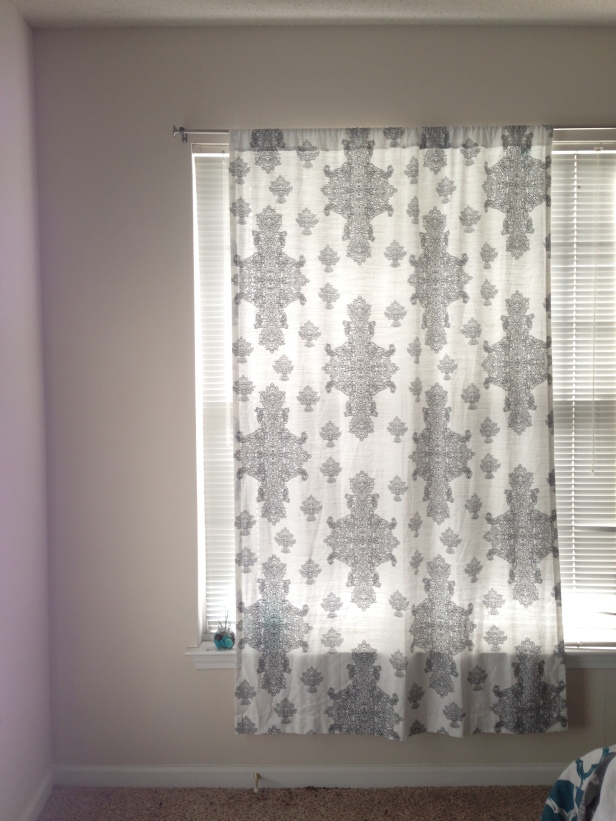
This is not a curtain raiser but a curtain lengthener post 😛 You must have noticed so many stores plus home decor blog moving from 96 inch to 108 or 120 inch length of curtains. Apartment therapy and houzz (absolutely love houzz!) flooded with pictures of ceiling to floor curtains. To me the smaller curtains have the ease of handling and moving while the bigger curtains look grand and raise your eye up to ceiling, giving the space a more tall look. Though right now I love the longer look, am sure there will be places I would love the curtains hitting just below the sill ;).
This post is about lengthening existing curtains to make them longer or to add your favorite color to them. When we moved apartments 2 years ago, I had some starter cotton curtains from target. Had three of them, 2 panels in white for a large window and one in gray panel for a west facing small window. I bought the same pattern since they were to go in the same room. Talking of which,here’s a tip: you do not need same curtains in one room, but replicating either the color or the pattern of curtain does give a sense of coherence to the room.
The curtains being cotton and not very heavy drapery or silk, I thought it would be easy to sew on and experiment for the first time. The good news is it wasn’t difficult at all! Just had to sew 2 straight line joints. The width of curtains was a few centimeters off. So be careful and check that before starting to sew the edges together. But well here you cant tell the difference, so we are good! 🙂
So here we go:
Measure the existing curtain and see where it hits the window once it is hung at ceiling level. Since mine were 96 inches, they hit exactly at the window sill. 84 inches would run shorter. Now measure the remaining portion from the window sill to floor. Cut the gray or any other matching fabric panel for that remaining length and width. Here you will notice I was not too anxious about matching the pattern at the joint exactly. It would have been pretty difficult to do that.
Pattern direction match: An important thing to do was to match the direction flow of spade pattern. You will observe that if we put the gray curtain opposite to whats it now, then the spade pattern is going to run in opposite direction pointing down, making the match look weird.
Length: Choose the length of gray/colored panel such that it is 1/4th of the white panel or maybe between 1/4th and 1/3rd. This will give a well balanced look. A half and half horizontal curtain to me looks out of place. Plus light falling from window onto the joint of the curtain, makes the joint very obvious. It maybe just me.:P
Start pinning the two panels so they stay in place while sewing. Start sewing at the joint. I sewed them on regular brother machine and it handled the 4 layers of cotton well. If you want fold the gray panel at the lower end and sew a pipe there as well, for if you would like to hang the curtain upside down sometime :). This way you have two configurations for the same curtain and can change things around a bit.
Taada! you have a new curtain 🙂 and you have added some color to the room 🙂 These curtains are actually made to barely touch the floor for easy mobility. But am waiting to move the curtain rods to ceiling level, once DH is a little free. Excited to see how it looks! Will post picture of that later. 🙂 PS: Check out the fig plant from home depot for $3, hoping that a little care might just help it survive. A perfect window with lots of indirect sunlight and water once a week and it doing so much better now. Thanks for walking through the post. What do you think of it? Would love to hear some suggestions from you.
Check out another childrens room curtain DIY extension achieved by adding pattern to curtain. In this along with the curtain extension, a zig zag repeated pattern is added to the upper panel to create more cohesive and fun look.


